How to Remove Salt Stains from Suede and Leather Shoes (UK Winter)
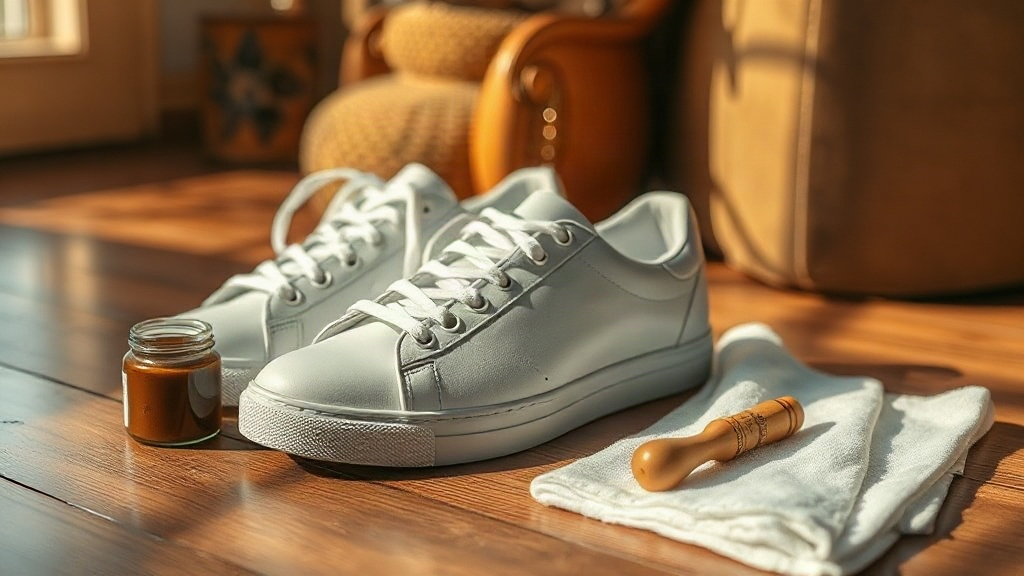
Sodium chloride in road salt draws moisture out of leather fibres through osmosis, leaving a crystalline tide mark. Even after the surface appears dry, these salt crystals continue to wick moisture from the material, weakening it from within.
As an Amazon Associate we earn from qualifying purchases. Some links on this page are affiliate links, which means we may earn a small commission if you make a purchase.
That white chalky line on your leather boots after a winter walk isn’t just a stain—it’s an active drying agent embedded in the material. The instinct to wipe it off immediately with a damp cloth is understandable, but it’s the fastest route to leather that cracks months later. The correct response turns on a single, often-missed step that exploits how salt behaves when dry versus wet.
Here’s the safe removal process for suede and leather, built around that critical drying window.
Why Salt Stains Demand a Dry Approach
Salt is hygroscopic, meaning it absorbs and holds moisture from the air and from damp shoes. Left in contact with leather, it pulls out the natural oils that keep the material supple. Once those oils are gone, the fibres become brittle and prone to cracking, often long after the stain was first created.
Suede, with its raised fibres, traps salt particles more easily, allowing damage to work deeper into the material. A white tide mark on suede boots might look superficial, but the structural weakening beneath is already underway.
This damage accumulates with every frosty commute. If you wear leather or suede shoes outside during a UK winter, salt exposure is inevitable. The critical factor is your handling of the shoes in the first few hours after you get home.
The Critical Drying Phase Before Cleaning
Salt-stained shoes must be completely dry before any cleaning attempt.
When shoes are wet, the salt has dissolved into a liquid. Rubbing a cloth or brush over it presses this corrosive solution deeper into the fibres, embedding it rather than removing it. It creates the illusion of cleaning while setting up future damage.
Once dry, the moisture evaporates and the salt recrystallises on the surface as a powdery residue. This crystallised salt sits on top of the fibres and can be brushed away cleanly. The core principle: wet salt spreads, dry salt lifts.
Stuff the toes with newspaper to absorb internal moisture and leave the shoes in a dry, room-temperature spot with good air circulation. Avoid radiators, as rapid drying can itself crack leather. This drying phase is non-negotiable.
This is the trap: wipe damp boots and the white marks vanish immediately, so the quick fix feels justified. The damage doesn’t show until months later, when the leather cracks along the toe cap — by which point it’s easy to miss the connection to that first wet wipe.
Removing Salt from Leather Shoes
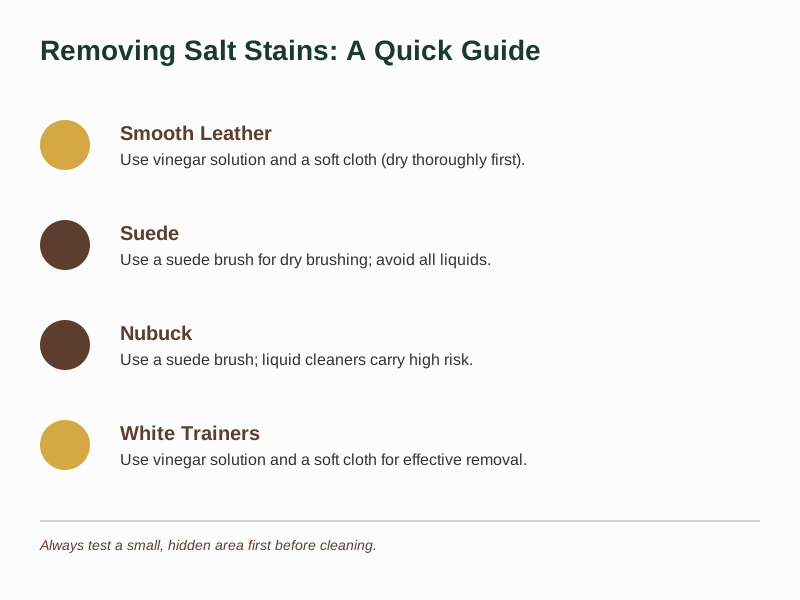
After the shoe is fully dry, address any remaining residue. For smooth leather, a solution of equal parts distilled white vinegar and cold water applied with a soft cloth works well. The vinegar dissolves the alkaline salt residue gently. Wipe the area, then let the shoe dry again briefly.
Conditioning is an essential follow-up. The vinegar removal process also strips some of the leather’s natural oils. Replenishing these oils prevents the very drying-and-cracking problem you’re trying to avoid. A quality conditioner that moisturises the leather is a winter essential. Saphir Renovateur Cream (paid link) is a well-regarded option. Renapur Leather Balsam (paid link) is another effective conditioner.
See Renapur Leather Balsam on Amazon → (paid link)
Check Saphir Renovateur Cream price → (paid link)
If vinegar isn’t available, a barely-damp cloth is safer than a wet one for a light clean, minimising moisture penetration.
Removing Salt from Suede and Nubuck
Suede requires a gentler approach to avoid flattening the delicate nap. Start with a dry suede brush, working in one direction to lift the crystallised salt from the surface. For many light marks, this is sufficient.
For more stubborn residue, a suede eraser is the next step. The Saphir Nubuck Suede Eraser (paid link) is effective for spot cleaning surface marks without damaging the nap. It’s a maintenance tool, not a solution for deeply embedded, old stains.
Check Saphir Nubuck Suede Eraser price → (paid link)
A standard Kiwi suede brush is a solid, affordable tool for regular upkeep. Avoid liquid cleaners on suede unless you’re experienced, as they can alter the texture.
Applying Protective Aftercare
Once the salt is removed and the shoe is dry, apply a protective treatment. This replaces lost oils and guards against future exposure.
For leather, use a cream conditioner. For suede, a protector spray creates a water-resistant barrier. Grangers Footwear Repel Plus (paid link) is easy to apply and effective across different footwear. It requires periodic reapplication with regular use in wet conditions. Tarrago Universal Protector (paid link) offers broad material compatibility, though it has a stronger odour during application.
View Tarrago Universal Protector on Amazon → (paid link)
See Grangers Footwear Repel Plus on Amazon → (paid link)
Crucially, always apply protection to clean, salt-free shoes. Trapping salt underneath a protective layer prolongs its damaging contact with the material.
Common Salt Stain Questions
Can I use tap water instead of distilled water?
Tap water contains dissolved minerals that can leave white marks as it evaporates, especially on light-coloured materials. Distilled water avoids this. While the vinegar in the cleaning solution mitigates the risk with tap water, distilled water is the cleaner, low-cost choice.
Will vinegar change the colour of my suede?
Vinegar’s acidity can affect suede’s nap and colour, particularly on lighter shades. It’s safer for smooth leather. If using on suede, test on a hidden area first. The dry brush and eraser method carries no colour risk.
How often should I reapply waterproofing?
Reapply protector every few weeks with regular wear in wet conditions, or after any deep clean. The layer degrades with use and brushing. If water stops beading on the surface, it’s time for a fresh application. A spray before the winter season and after a major clean provides a good baseline.
Is a suede eraser a worthwhile purchase?
For regular suede wearers, a suede eraser is a cost-effective tool for managing light salt marks and scuffs without liquids. It’s safer and simpler than many alternatives. The Saphir Nubuck Suede Eraser offers good performance, but even a basic eraser is better than no tool at all for maintenance.
Related Guides
For a complete overview, see our How to Clean Suede Trainers at Home Without Ruining Them .
As an Amazon Associate we earn from qualifying purchases. The shoes and court kit linked above are ones we recommend based on independent research and owner feedback.
Treat salt-stained shoes within 12 hours of exposure for the best results. After this window, the salt crystals bond more firmly to the fibres, making complete removal harder. General guidance only, verify details with a qualified professional or official source.